
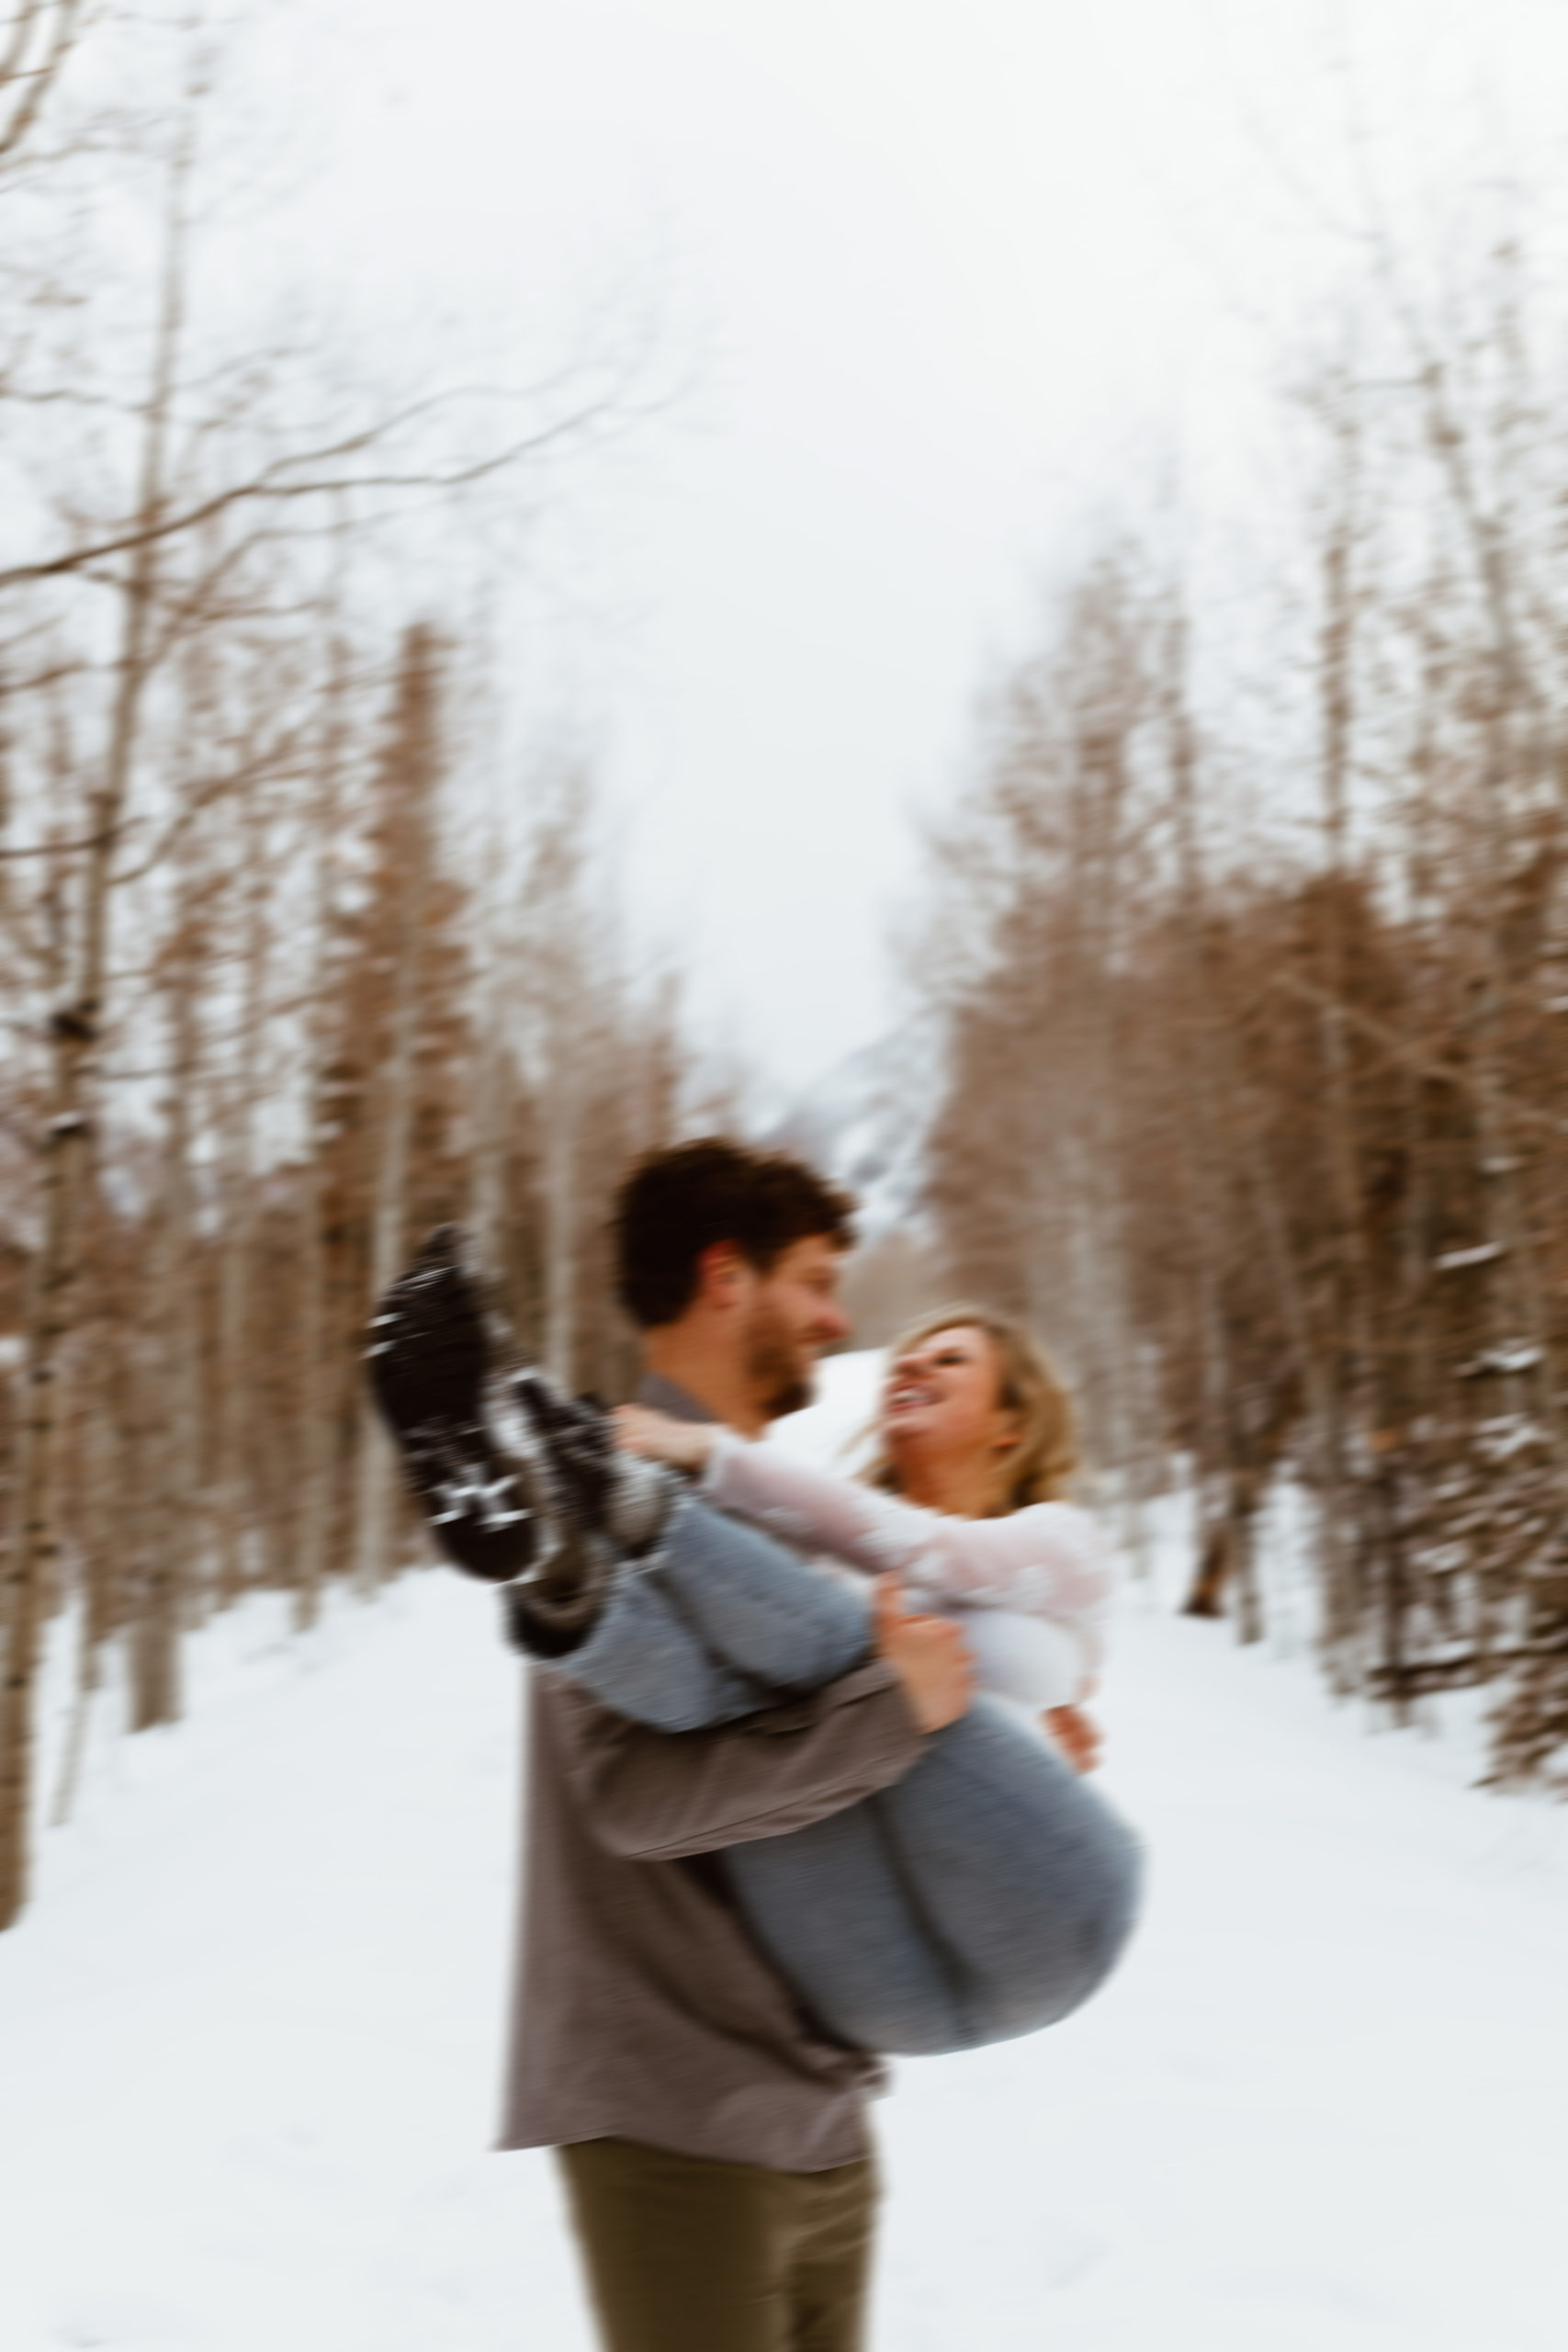
I’m a big fan of doing things in-camera, meaning any effects like double exposure or motion blur, is done while actively shooting the images, instead of later in post by using Photoshop. But sometimes you can’t do that in real-time. Sometimes it’s more important to capture the moment as it’s happening in a true-to-form way and you don’t have time to get creative. Luckily Photoshop makes this SO easy to fix.
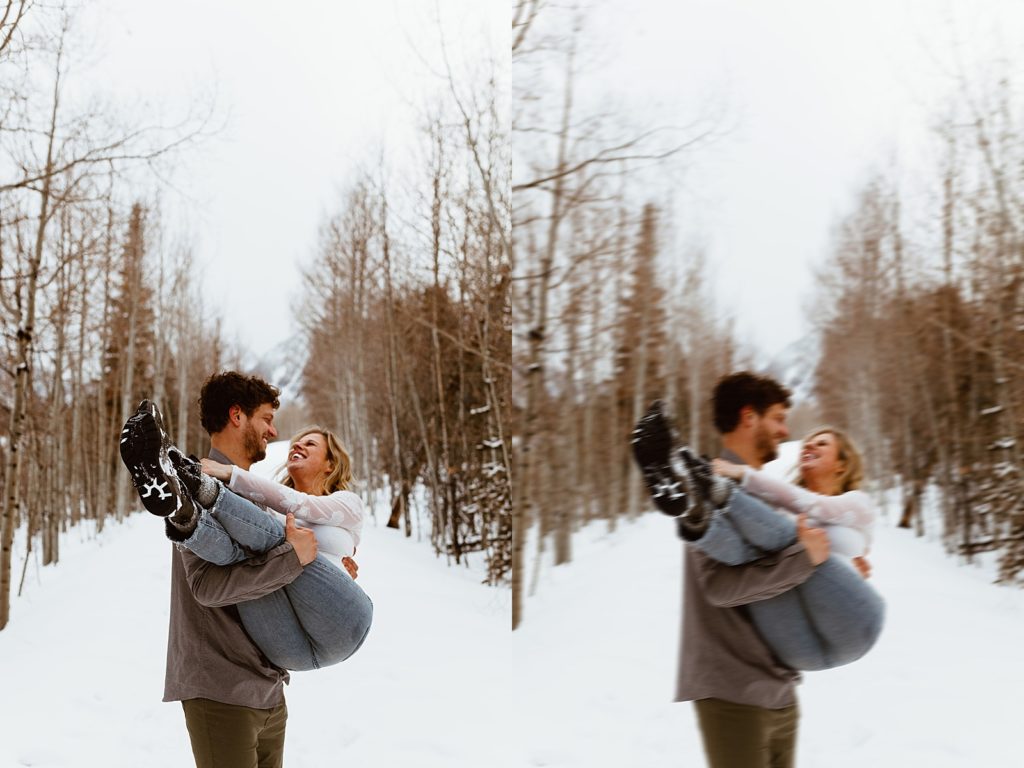
The photo on the left I took without any motion blur, and the photo on the right is after adding motion blur in Photoshop.
- First, pick the photo you’d like to add blur to. I like to edit the image in Lightroom first, get the tones how I like them, straighten + crop the image, etc. After you edit the image how you’d like in Lightroom, export it to your Desktop.
2. Drag the image into Photoshop and click Filter > Blur > Motion Blur
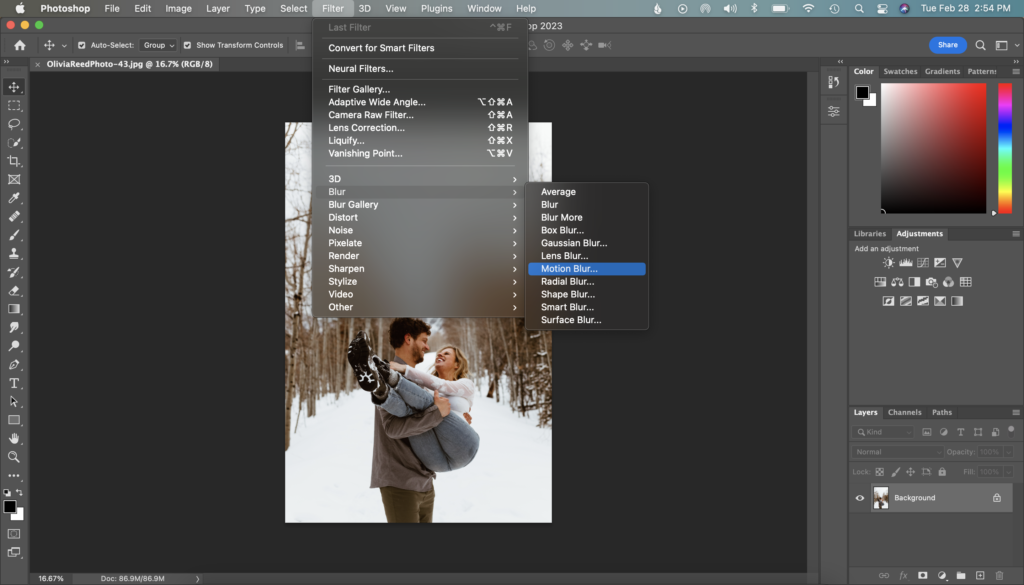
3. And voila! You can play around with the angle of the blur and the distance of the pixels to get the vibe you want. The higher the distance number the more dragged out the pixels will get and the more blurred the image will become.


Add a comment
0 Comments